Showing posts with label Tools-Aquapainter. Show all posts

Saturday, July 28, 2018

Christmas in July - July 28, 2018


Frame.  I don't know what else to call this card technique.  I received a swap using the frame, and this is my first try.  
 The stamp set is the same as yesterday.  This is the ornament grouping from Jar of Cheer.  It is usually showcased inside the jar.  I thought the frame would be perfect with it.  I added the Trio punch on the corners for more detail.
 This is a closer look at the framed image.  I used the new watercolor pencils and added Wink of Stella because Christmas ornaments MUST be sparkly! 
You should be able to see the sparkle on the picture below.

Again I'm going to recommend using aqua painters with the Watercolor Pencils.  I'm much happier with the result.  The blender pens tend to make the paper pill, and the look isn't as smooth.
It's great to have a deeper color selection!


Click on any of the products below to purchase materials to make this project.

If you don't currently have a Stampin' Up! Demonstrator, I'd be thrilled to talk with you about furthering your crafting pursuits!


Product List

Friday, July 27, 2018

Christmas in July - July 27, 2018


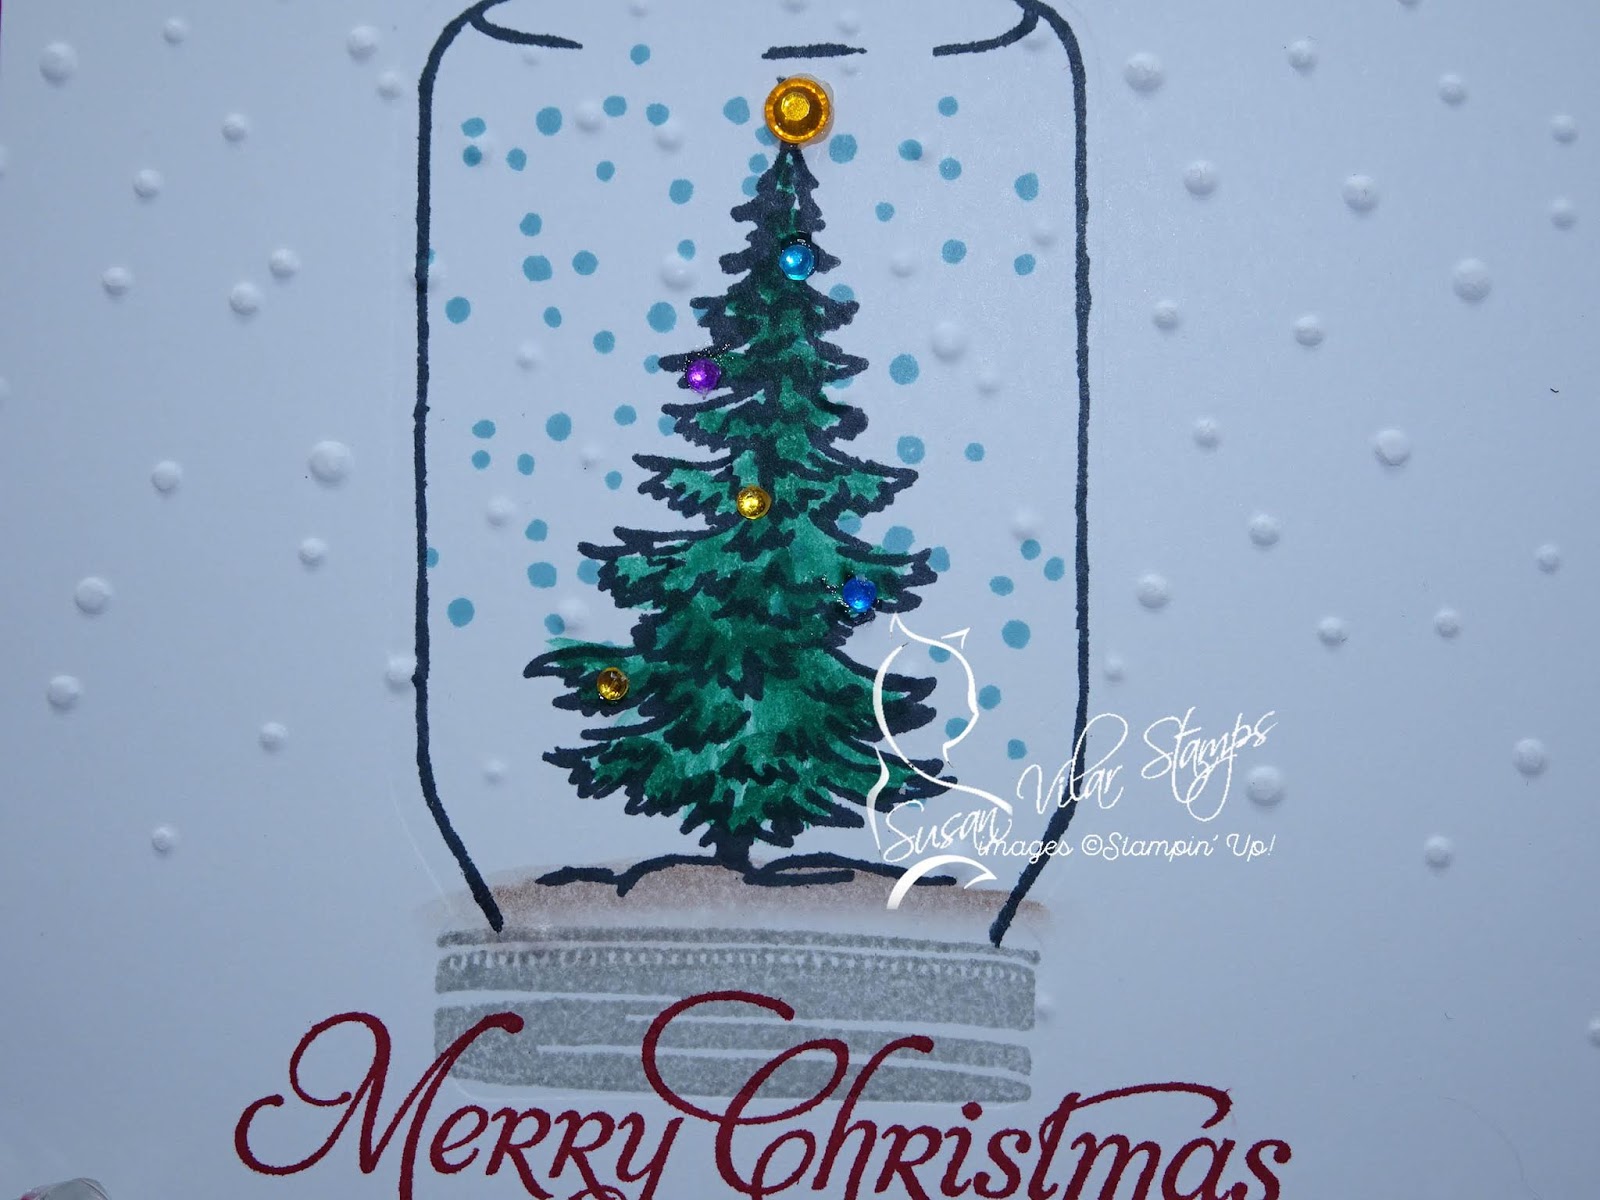
Ahhhh  Christmas trees!  I love Christmas trees! We don't keep our big tree up all year, but I have Christmas trees around my house all year long.  My grandma's ceramic tree has pride of place.  I don't keep it plugged in all year, but it's out there.

The stamps come from a retired set Jar of Cheer.  This tree just needs to be made into a snow globe! 
 After stamping and watercoloring the tree, I embossed the card with the Softly Falling folder since it just needed that additional 'something'. 

I added tiny colored rhinestones for lights, and a larger rhinestone for a star.  The Wink of Stella is so hard to see.  I've added the sparkle to the snow inside the jar.
I've said it before...  having the right colors makes all the difference!  An aquapainter and Shaded Spruce is the perfect combination for a Christmas tree!

I also have an idea for using this tree with the Varied Vases.  I'm afraid it's going to be too big, but I want to give it a try.

Keep a look-out for tomorrow!  I've got another version using Jar of Cheer.  


Click on any of the products below to purchase materials to make this project.

If you don't currently have a Stampin' Up! Demonstrator, I'd be thrilled to talk with you about furthering your crafting pursuits!


Monday, January 15, 2018

The Missing January Club Card

Here it is!
This card features the roses stamp from the current Stampin' Up! Occasions catalog in the Petals Palette stamp set.  There are also die cuts that work with this set.  My focus for today's Thank You card was to keep it simple and clean.

I had the ladies use Real Red, and Emerald Envy with the Aquapainters - I demonstrated how to get the variation in color using just one ink pad to add color to the flowers and leaves.

The stamp Thank You comes from the set One Big Meaning.  It's a favorite of mine. 


Click on any of the products below to purchase materials to make this project.

If you don't currently have a Stampin' Up! Demonstrator, I'd be thrilled to talk with you about furthering your crafting pursuits!


Sunday, June 25, 2017

Mystery Card Challenge #5 and a Tutorial

 Today I'm presenting my card for the 5th Mystery Challenge, BUT I'm including a tutorial and comparison since I made the card twice.  I wanted to show two different techniques. 

This is the Bright Wishes stamp set, and the cardstock color is Perfect Plum - you'll see that later.
 In the picture above, I used a burnishing technique.  This takes only a little bit of practice.  Take a sponge dauber, dip it in your ink, and (**starting off the edge of the paper) rub in gentle circles to add color as a background.  This will give you a soft effect of color.  Start off the edge.  If you don't, you'll get round spots on your piece.

You can also see on the wood and stone above, I've taken the watercolor pencils and just lightly traced some of the lines of the wood, and then just lightly colored over the entire surface.  You only need to use a light hand.  Click on the picture to see a larger image.
I did the same for the stonework.
 In this picture above, you can see the result of the watercolor technique using a blender pen since I've used regular Whisper White cardstock.  The blender pen will take the color, smooth it out and fill in the spaces, leaving texture and light/shade areas.  Use a light hand with the blender pen as well.  Notice in the first picture there are blank spaces where I didn't use the water color pencil.  In the second picture, all the spaces are filled in and the wood texture remains.  (So cool!)  I used the same technique with the gray for the stones. 

 Below:  Here is the finished card.  I added color using the blender pen with the ink pads to add in the greenery and flowers.  In the pictures above, the grass isn't finished, but I used the same technique I described able to make the grass look like a carpet, and not just the lines you saw in my work-in-progress.

 Here is the same exact card, using watercolor paper and the aqua painters.  I also used a combination of the watercolor pencils and ink pads to get the colors I wanted for the wishing well.  I did not using the burnishing technique on the watercolor paper, just the water pens.
 I believe this is a pretty clear example of the differences between using a blender pen on regular Whisper White cardstock, and using the aqua painters on watercolor paper.  Find the one you like best! 

Here it is again!  Happy Birthday from Celebrate You!


 The next challenge is:  Stamp set - Balloon Celebration and the Cardstock:  Elegant Eggplant.
NOTE:  I'm going to present this one before July 2nd.  I'm going back to doing my Christmas in July series, and I'll drag the Mystery Challenges into it as well.
 Stay tuned.....

Click on any of the products below to purchase materials to make this project. If you don't currently have a Stampin' Up! Demonstrator, I'd be thrilled to talk with you about furthering your crafting pursuits!

Friday, May 12, 2017

Mother's Day Card Options

 I had my Stamp Club over in Mid-April for a Crafting day, and I had 2 Mother's Day card options available.

 I prepared quite a lot for these so they would have most of the time for their own crafting instead of spending time stamping, water coloring, and die cutting.
 All of the pieces come from the Occasions Catalog that will soon be retiring at the end of May.  I knew the Easter things would retire, but I was SURE the succulents would continue over since they are Shelli's favorites. 

 I used MANY colors on these two projects, and will let you know - just send me a comment! 


Click on any of the products below to purchase materials to make this project. If you don't currently have a Stampin' Up! Demonstrator, I'd be thrilled to talk with you about furthering your crafting pursuits!