Sunday, May 27, 2018

Painted Glass - Stained Glass Thinlits

I am IN LOVE!

I first saw this stamp set at the Stampin' Up! OnStage event at the beginning of April.  Even before someone demo'd it for our group, I fell in love with it just from looking in the catalog.  I could immediately see the possibilities.

 There are many new items featured in this post!  Above you get a good look at the cardstock Lovely Lipstick.  The irises and butterflies are colored in Gorgeous Grape, and Highland Heather.

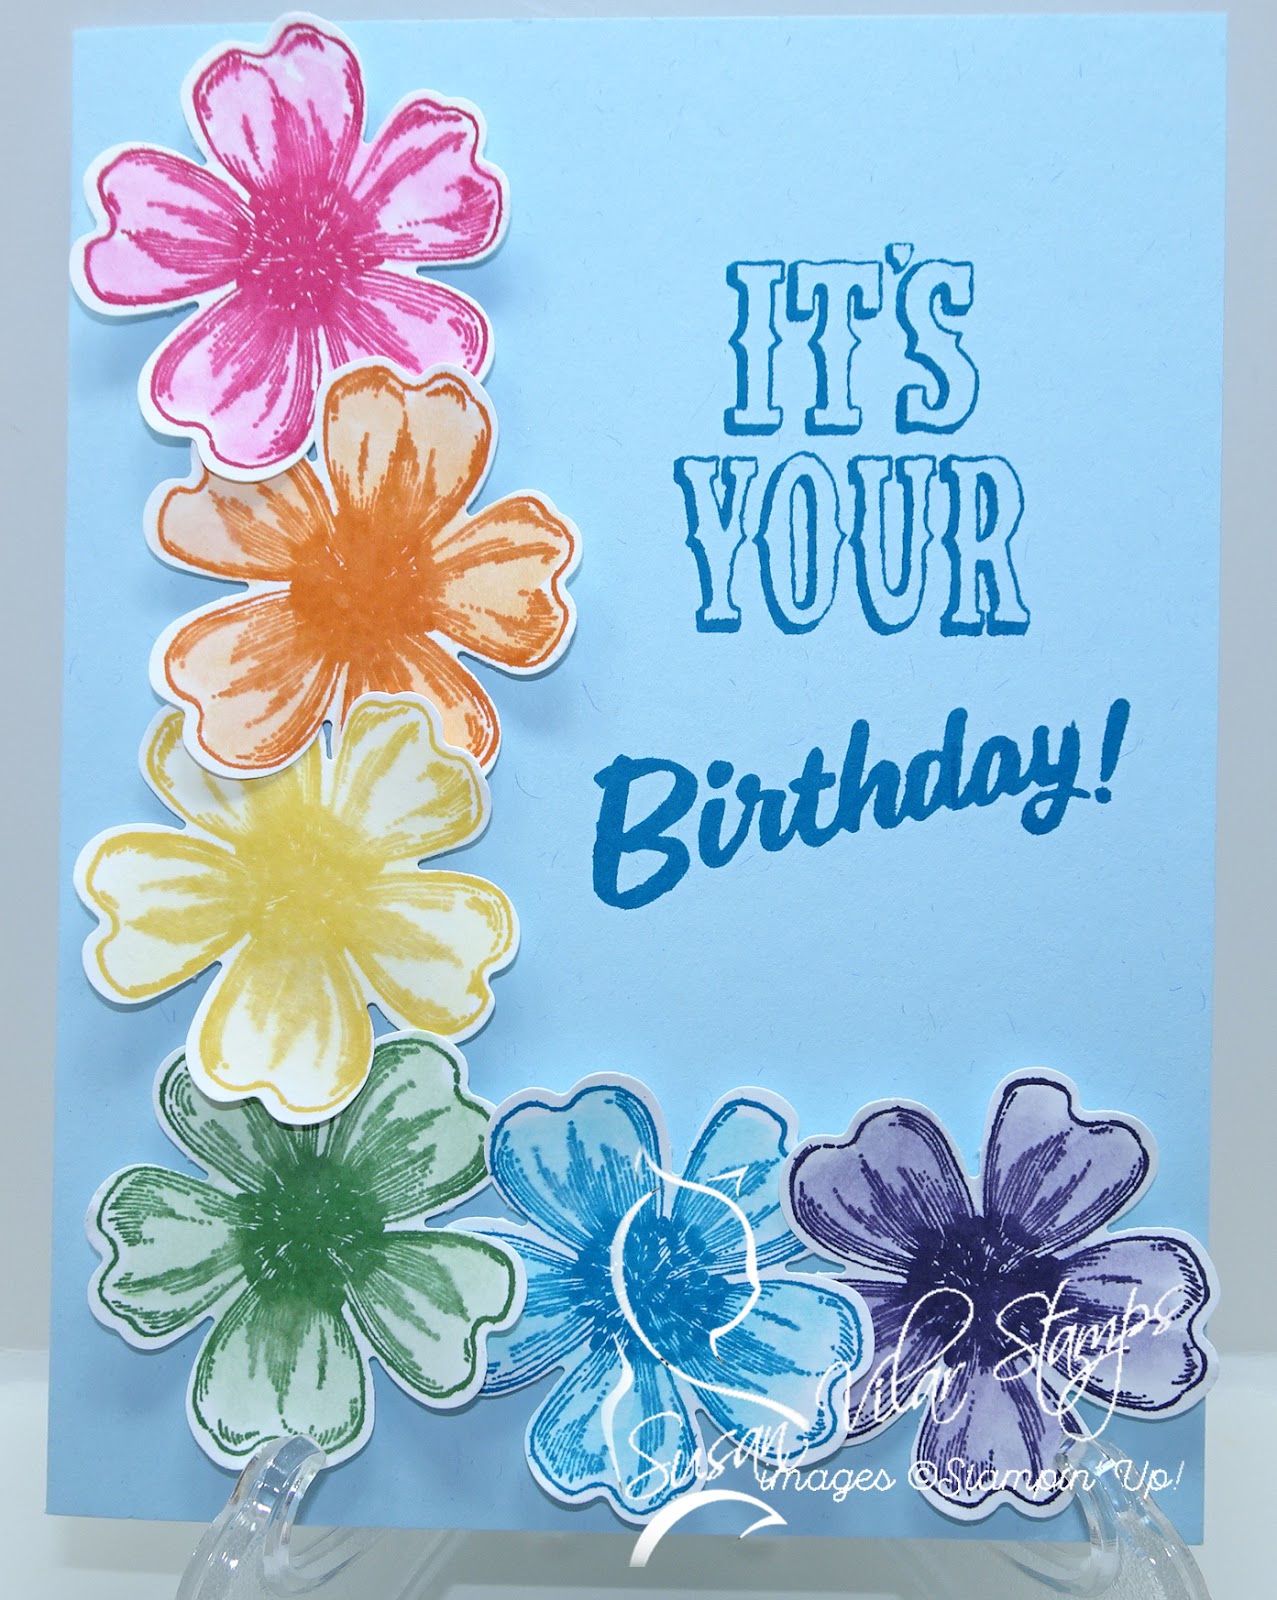
Here you can see the new cardstock color Balmy Blue, and Shaded Spruce for the leaves and butterflies.

GORGEOUS GRAPE!  WOW!  We have purple!  The flowers are colored with the Lovely Lipstick marker as a contrast on the purple.

I put these together as quickie cards to look at design.  Check back later for more embellishments and layers on similar cards.

Keep June 1st in mind to order these beautiful Stampin' Up! papers and stamps!


Click on any of the products below to purchase materials to make this project.

If you don't currently have a Stampin' Up! Demonstrator, I'd be thrilled to talk with you about furthering your crafting pursuits!


Thursday, May 24, 2018

Special Order Completed

Here is the completed special order for my work colleague.  She requested an engagement card, 2 wedding cards, and a welcome baby card.

I've been dying to use the Amazing Congratulations stamp set for awhile but was having some trouble with color selection.  Once Coastal Cabana came back to the color collection I knew it would be perfect with Bermuda Bay! 

 I took a closer picture so you can see the gradients in color with both stamps.  LOVE how they work together so well!  There's a lot of sparkle on this card.  Glimmer paper, sequins, rhinestones - so much sparkle!

I made two of these - the flowers were colored differently.  The special part of this card is the background.  I die cut the white roses, and placed them on white cardstock for dimension.  
 Here again is the Moon Baby card.  I posted this previously and just added it here to have the complete set of cards together.


Click on any of the products below to purchase materials to make this project.

If you don't currently have a Stampin' Up! Demonstrator, I'd be thrilled to talk with you about furthering your crafting pursuits!


Tuesday, May 22, 2018

Artist Trading Card Swaps 2 and 3

I'm having way too much fun with the Artist Trading Cards!  They are baseball sized cards (2 1/2 x 3 1/2) little pieces of art.  They are numbered pieces, and of limited edition. 

Searching around Pinterest, I saw ATCs that matched full sized A2 cards.  What a great idea!  It's a small piece you can keep rather than storing a card.  Since I'm in ATC creation mode, I plan to take them and then create full cards for my club or for mailing.

Here is our 2nd swap.  After our Stampin' Up! OnStage event, we kept the swapping going, and one lady was fabulous enough to organize the swapping for us! 

My Thank You ATC here features lots of techniques.  I used Brusho crystals on Thick White cardstock for a colorful background.  I used the new stamp set Painted Glass, and the Stained Glass die cuts.  I also stamped the Thank you with StazOn on the vellum.  The butterfly was heat embossed and colored with Stamp 'n Write markers.  I also used one of the new *beautiful* buttons.  They're SO pretty!


This was actually going to be my 2nd swap.  I had to wait a bit longer than I wanted to for this stamp set.  It was worth the wait!
We were assigned a technique for this ATC swap.   I used watercoloring.  The background is special.  Color the C block with various markers.  Spritz with water, and place on the paper with some pressure.  It melds the colors together on the paper!
I used the Watercolor Pencils and an aqua painter to color the balloons.  After they dried, I used the chalk marker to add a highlight and make the balloons look spherical. 

Colors featured on this ATC:  Daffodil Delight, Melon Mambo, Bermuda Bay, and Rich Razzleberry.
The Happy Birthday comes from Southern Serenade, and the little confetti is from Amazing Congratulations stamp set.

Contact me if you'd like to learn more about Artist Trading Cards!


Click on any of the products below to purchase materials to make this project.

If you don't currently have a Stampin' Up! Demonstrator, I'd be thrilled to talk with you about furthering your crafting pursuits!


Sunday, May 20, 2018

May's Club Cards

Our May Club meeting turned out to be just the day before Mother's Day.  I used a Mother's Day card design I saw on Pinterest - more on the rest of the story in a bit.

A week before our Club date, I was working on designs for our meeting, and wanted to focus on soon retiring stamp sets and colors.  This birthday card turned out so well! 

It's a watercolor technique.  Stamp the flowers, and immediately use the aqua painters (water brushes) to spread the color around to give the petals color and dimension.


 I saw this pocket card on Pinterest as well, and loved it the moment I saw it.  The Designer Series Paper, Delightful Daisy is retiring and I wanted to present another idea for using this very pretty paper.
We heat embossed the pocket and die cut it.  Use Tear & Tape to get the best adhesion to your paper.

My students earn points for good behavior, and lose points when they are having issues.  One reward I offer is for 100 points - students can do Arts and Crafts with the Teacher.  I had a dozen kids want to make Mother's Day cards.  I had almost everything prepared, and on Friday, I called that group from each class to assemble their cards.  The students had to color the flowers (This was the sample they could use for an example.) and then glue up all their pieces.  

Here is the Christmas Card I offer every club meeting.  I wanted to feature this very pretty Christmas stamp set.  After looking at it, it needs ribbon.  I'll send that along next club date.  We used the Stamparatus to stamp the sentiment and pine needles.  I had a template set up, and we stamped away!

Many of these items are retiring.  Grab them while you can!  


Click on any of the products below to purchase materials to make this project.

If you don't currently have a Stampin' Up! Demonstrator, I'd be thrilled to talk with you about furthering your crafting pursuits!