Showing posts with label Die Cuts-Layering Ovals. Show all posts

Saturday, July 28, 2018

Christmas in July - July 28, 2018


Frame.  I don't know what else to call this card technique.  I received a swap using the frame, and this is my first try.  
 The stamp set is the same as yesterday.  This is the ornament grouping from Jar of Cheer.  It is usually showcased inside the jar.  I thought the frame would be perfect with it.  I added the Trio punch on the corners for more detail.
 This is a closer look at the framed image.  I used the new watercolor pencils and added Wink of Stella because Christmas ornaments MUST be sparkly! 
You should be able to see the sparkle on the picture below.

Again I'm going to recommend using aqua painters with the Watercolor Pencils.  I'm much happier with the result.  The blender pens tend to make the paper pill, and the look isn't as smooth.
It's great to have a deeper color selection!


Click on any of the products below to purchase materials to make this project.

If you don't currently have a Stampin' Up! Demonstrator, I'd be thrilled to talk with you about furthering your crafting pursuits!


Product List

Tuesday, June 26, 2018

Abstract Impressions and Garden Impressions DSP. I am in LOVE!

Quite a few years ago, Stampin' Up! had a watercolor paper called Painted Petals.  I loved that paper so very very much - and I'm grateful as well because it started my Stamp Club!
 I think I've found its equal.  I LOVE the Garden Impressions DSP (Designer Series Paper) and the stamp set so much! 
 Get ready - you're going to see it very often this year! 

 These two cards, above using Shaded Spruce as the background and Flirty Flamingo flowers - and the card below uses Gorgeous Grape as the paper and flowers were showcased in two places.  First at my retirement party, (Stampin' Up! Retirement) and at our New Catalog Launch event.

 Isn't this paper absolutely gorgeous?
 I hope you love this paper as much as I do!  It's so beautiful, and has so many possibilities!
 Almost unlimited paper combinations and possibilities!

 These two, above and below show more than the blues... Mango Melody, Soft Seafoam, Melon Mambo, Calypso Coral....   so pretty!

This was the card I featured at the New Catalog Launch.  It uses none of the DSP - just the stamp set and a punch.

 These are not finished - they still need a sentiment and a little sparkle.  I just wanted to show what the die cut looked like with just some sponged ink to add color. 


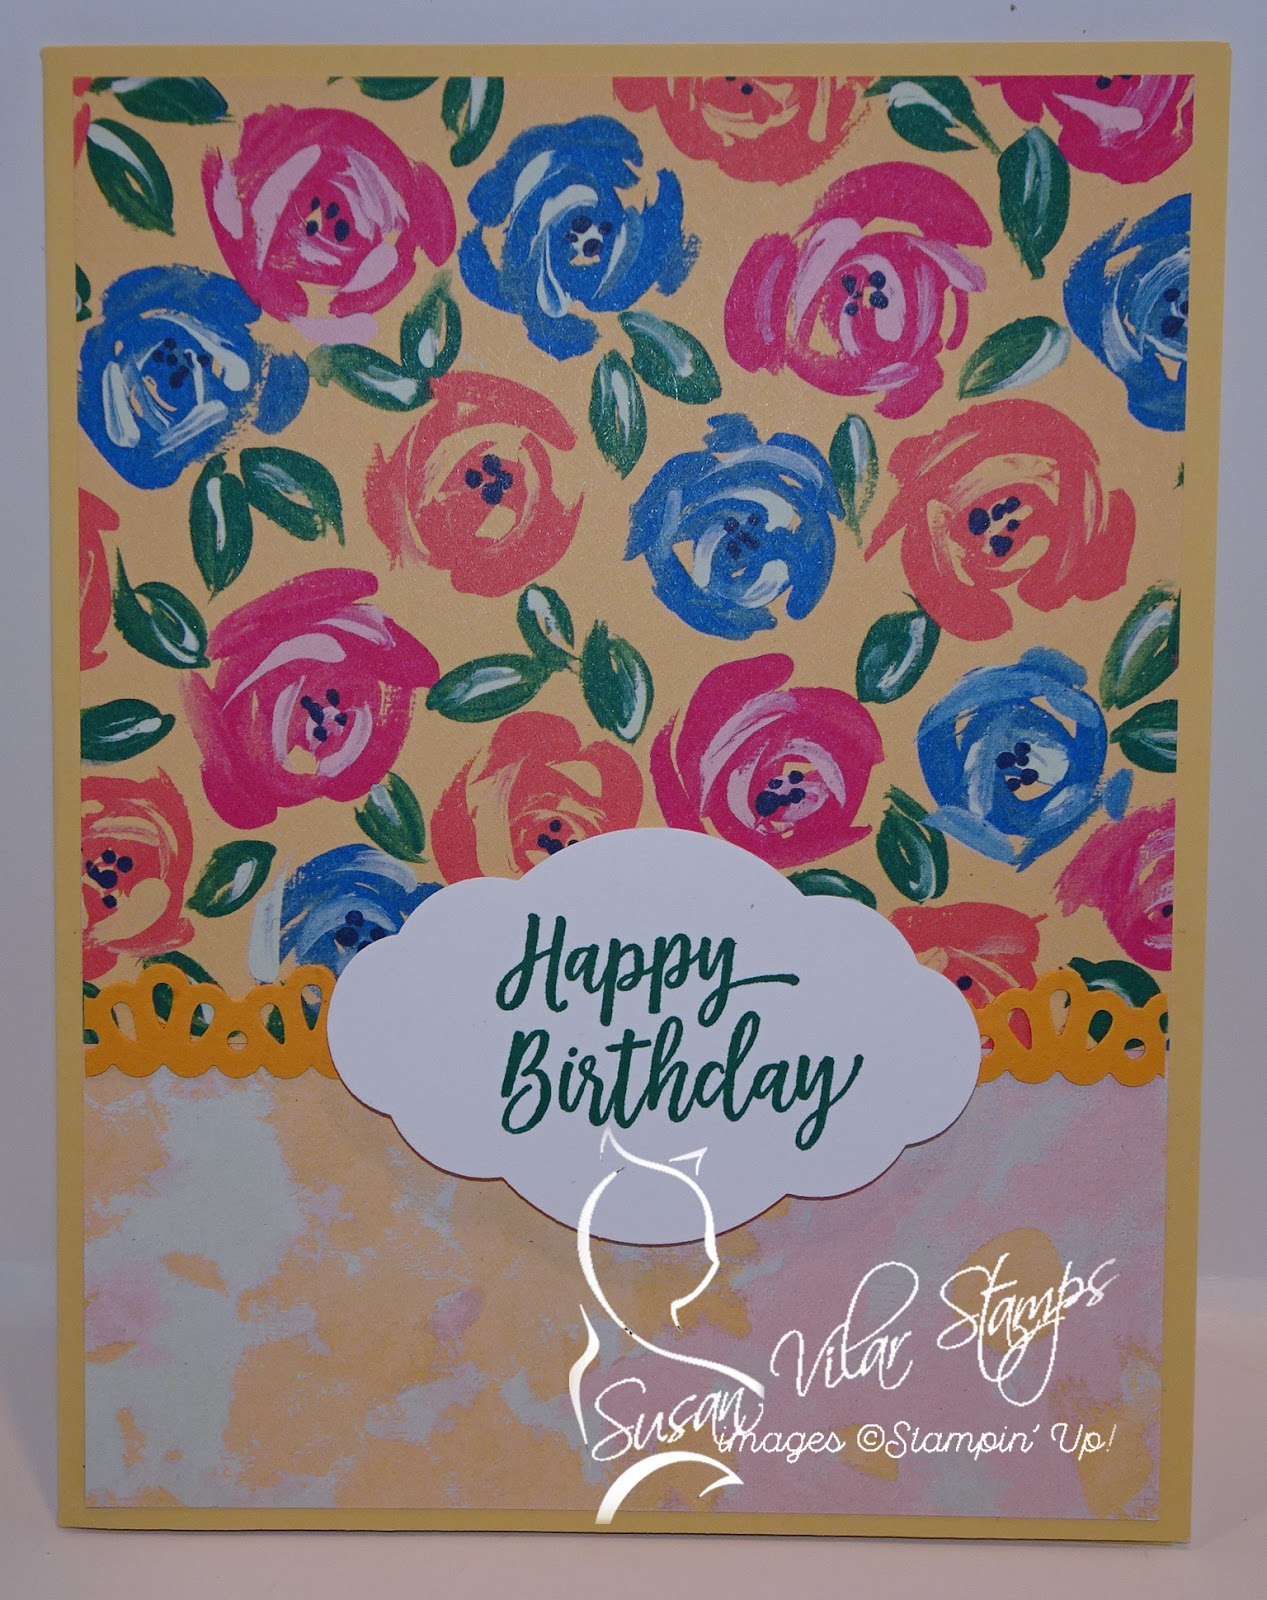
 On this Happy Birthday below I used the DSP and die cut the Happy Birthday, then used the 'scrap' as a mat.  I then embossed the bottom piece to give it some dimension.

I hope you enjoyed this little tour of the new Garden Impressions DSP, and the stamp set Abstract Impressions. 
Some of my card designs were inspired by Linda Allen, a fellow demo.  They really caught my attention, and then I made them my own. 


Click on any of the products below to purchase materials to make this project.

If you don't currently have a Stampin' Up! Demonstrator, I'd be thrilled to talk with you about furthering your crafting pursuits!


Friday, February 2, 2018

Four Panel Card - A Series

This is a technique I saw from another demonstrator.  I can't take credit for it, but I did work out the measurements.

They are included at the bottom of this post.

I've been working on an entire series of these cards.  You first saw these from me when I posted my January club cards.  It included a Four Panel Card.  Each club member received a sheet with the measurements to reproduce these cards. 

 Can you see the applications for a card like this?  Change the background color, mat color, and patterned paper and you have an entirely different card.
 Here are a selection of birthday cards.  What about Valentines?  What about Father's Day? 
 So many options!  Instead of matting the patterned paper with white, use vanilla, or another color that will match your design.
 For this set of cards I used the stamp set and coordinating paper from the Occasions catalog... Picture Perfect Birthday, and Picture Perfect Party.


Use a card base, and a mat for a normal A2 card.

The white mat measures 1 7/8" by 2 1/2"
Cut the patterned paper or DSP to measure 1 3/4" by 2 3/8".


Click on any of the products below to purchase materials to make this project.

If you don't currently have a Stampin' Up! Demonstrator, I'd be thrilled to talk with you about furthering your crafting pursuits!