Showing posts with label Mystery Card Challenge. Show all posts

Thursday, June 29, 2017

Mystery Challenge #6 and Embossing Tips


 SO you're going to do some heat embossing.  You need a bunch of balloons, and the balloon punch can be tricky if you don't line them up properly.  Here's an idea to be efficient.  I punched the balloons out of a piece of scrap.  Place the stamps in the spaces left by the punch.  Use the D block to mount your stamps, and you can stamp away quite quickly!

After stamping as you can see below on some Whisper White cardstock, use the template above again for the other pieces to add the embossing. This is known as Two-Step stamping.  Ink up the 2nd step with Versamark ink, and after stamping, spread with copper embossing powder.
 I'm showing the paper clipped to a piece of cardboard.  This is a great technique for saving your fingers from the heat gun!  It gets really hot!
Below you can see the completed embossing.
 The balloons look like a terrible mess in these two pictures, but once you line them up in the balloon punch, they punch out very quickly!  You then have 8 balloons to use for a very cute card!

 Here you can see my card for the Mystery Challenge.  Love the shine from the copper embossing powder on the purple balloons!

Here you can see the inside view of the card. I like the strings that have 'let's celebrate' written on them.  SO cute!
I haven't done the choosing for the next Mystery Challenge yet since I'll be doing a Christmas in July project.
I will either continue it through July, or start up again with the Mystery Challenges in August.
Stay tuned!

 photo Blog sig complete.png
Click on any of the products below to purchase materials to make this project.

If you don't currently have a Stampin' Up! Demonstrator, I'd be thrilled to talk with you about furthering your crafting pursuits!


Sunday, June 25, 2017

Mystery Card Challenge #5 and a Tutorial

 Today I'm presenting my card for the 5th Mystery Challenge, BUT I'm including a tutorial and comparison since I made the card twice.  I wanted to show two different techniques. 

This is the Bright Wishes stamp set, and the cardstock color is Perfect Plum - you'll see that later.
 In the picture above, I used a burnishing technique.  This takes only a little bit of practice.  Take a sponge dauber, dip it in your ink, and (**starting off the edge of the paper) rub in gentle circles to add color as a background.  This will give you a soft effect of color.  Start off the edge.  If you don't, you'll get round spots on your piece.

You can also see on the wood and stone above, I've taken the watercolor pencils and just lightly traced some of the lines of the wood, and then just lightly colored over the entire surface.  You only need to use a light hand.  Click on the picture to see a larger image.
I did the same for the stonework.
 In this picture above, you can see the result of the watercolor technique using a blender pen since I've used regular Whisper White cardstock.  The blender pen will take the color, smooth it out and fill in the spaces, leaving texture and light/shade areas.  Use a light hand with the blender pen as well.  Notice in the first picture there are blank spaces where I didn't use the water color pencil.  In the second picture, all the spaces are filled in and the wood texture remains.  (So cool!)  I used the same technique with the gray for the stones. 

 Below:  Here is the finished card.  I added color using the blender pen with the ink pads to add in the greenery and flowers.  In the pictures above, the grass isn't finished, but I used the same technique I described able to make the grass look like a carpet, and not just the lines you saw in my work-in-progress.

 Here is the same exact card, using watercolor paper and the aqua painters.  I also used a combination of the watercolor pencils and ink pads to get the colors I wanted for the wishing well.  I did not using the burnishing technique on the watercolor paper, just the water pens.
 I believe this is a pretty clear example of the differences between using a blender pen on regular Whisper White cardstock, and using the aqua painters on watercolor paper.  Find the one you like best! 

Here it is again!  Happy Birthday from Celebrate You!


 The next challenge is:  Stamp set - Balloon Celebration and the Cardstock:  Elegant Eggplant.
NOTE:  I'm going to present this one before July 2nd.  I'm going back to doing my Christmas in July series, and I'll drag the Mystery Challenges into it as well.
 Stay tuned.....

Click on any of the products below to purchase materials to make this project. If you don't currently have a Stampin' Up! Demonstrator, I'd be thrilled to talk with you about furthering your crafting pursuits!

Sunday, June 18, 2017

Mystery Card Challenge #4

 I forgot to take a picture of the choices for this challenge (it was a little crazy around here for a bit) and then we were out of town.... but we're back! 

Even though I didn't take a picture of the challenge pieces, they were:  Stamp set:  Wood Words, and cardstock color:  Tempting Turquoise. 

 Here's the card front.  There are so many amazing images in this stamp set - I just filled up the front of the card and distressed the edges.  There was a really cute Thank You that fit perfectly in the circle.  The set also has lots of other fun words that fit into the shapes.  I didn't even use any of the die cuts.  There are lots of options for this set!
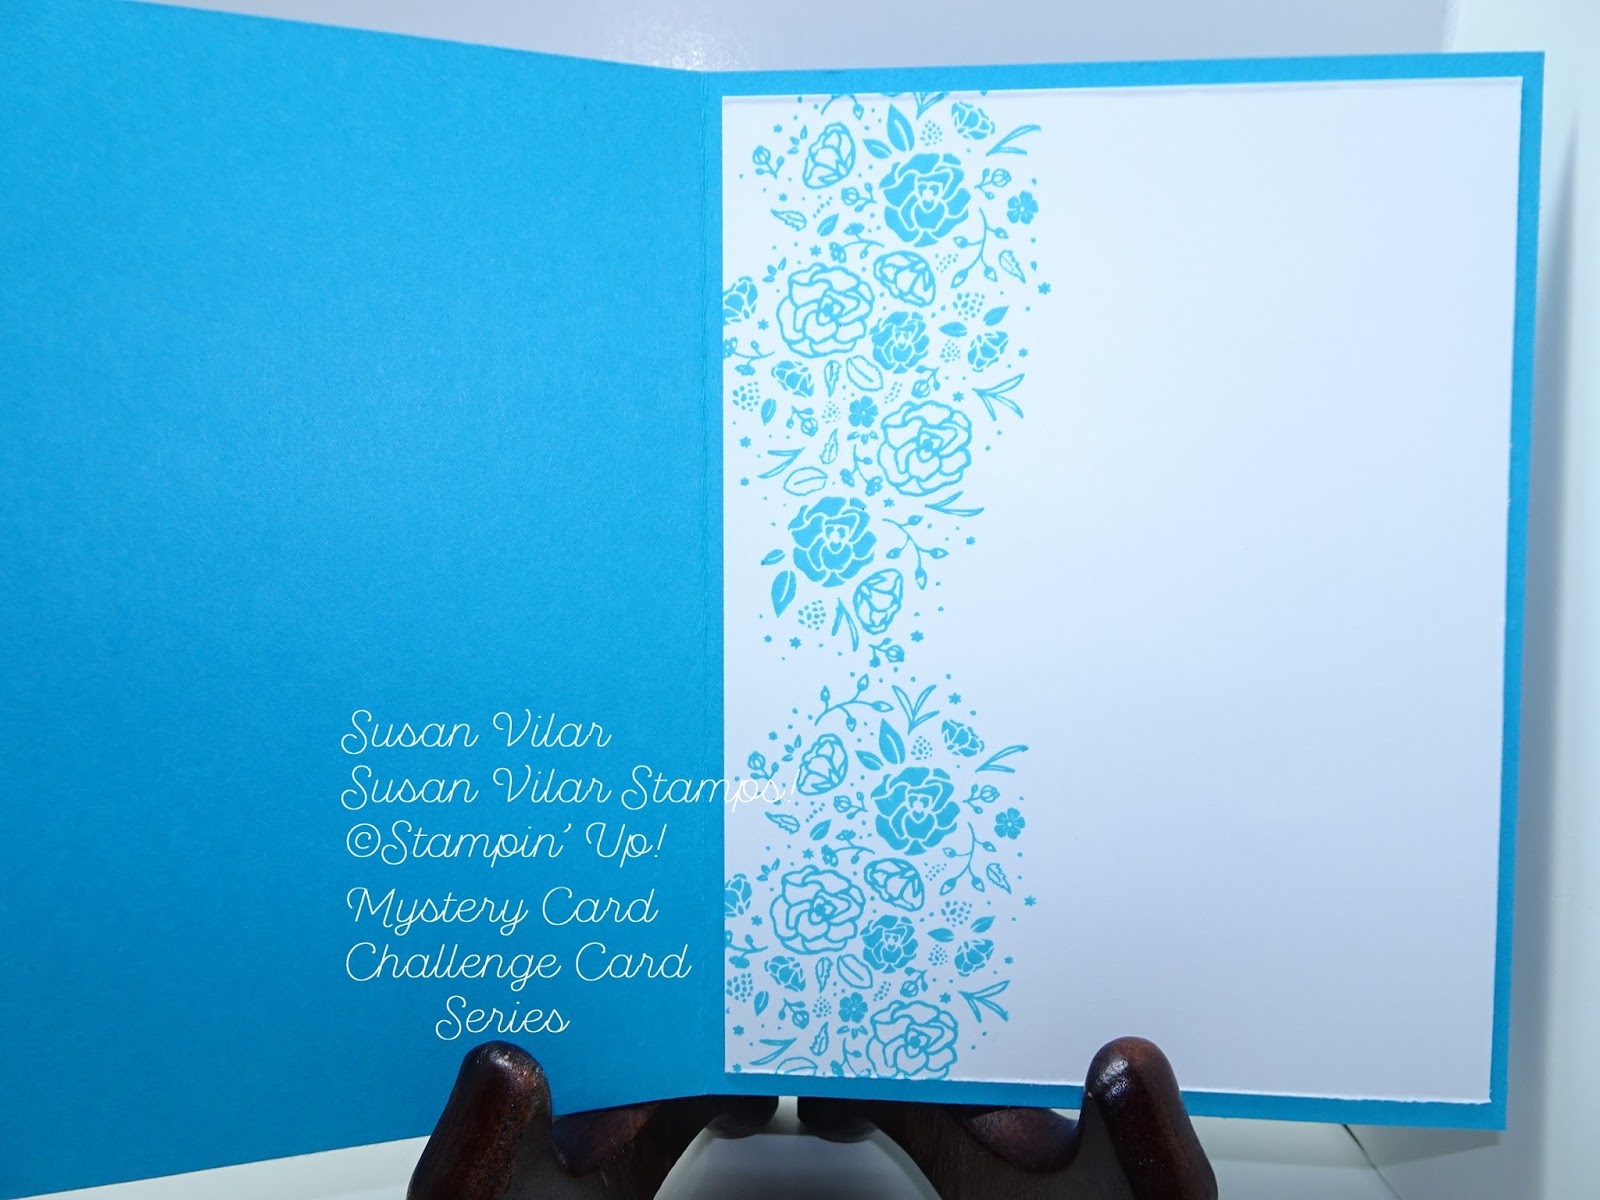
 One huge benefit with this stamp set is you can use the background stamp to decorate the inside of your card.  This idea came from a fellow demonstrator in my group, Robin Smith.  Thanks Robin!  I love this idea!

The first few challenges, I took the challenge pics on a white background which didn't work so well.  In an endeavor to make that better (and easier on the eyes) I'm trying to use some colored backgrounds.  Seems to help!
 Here are the next choices for the Mystery Challenge #5.  I have planned a picture tutorial for this next card set .....  stay tuned!


Click on any of the products below to purchase materials to make this project. If you don't currently have a Stampin' Up! Demonstrator, I'd be thrilled to talk with you about furthering your crafting pursuits!

Wednesday, June 14, 2017

Mystery Card Challenge #3

 Here I'm presenting the Stylized Happy Birthday card in Dapper Denim.  I kept this one quite simple and if you remove the bows, it could be a good choice for a masculine card.

I really like this stylized birthday stamp.  I've used it quite a bit, and keep finding ways to use it. 
 The next challenge will debut on Sunday!

Stay tuned!

This is the completion of the third challenge - anyone want to play along?  Let me know!

Click on any of the products below to purchase materials to make this project. If you don't currently have a Stampin' Up! Demonstrator, I'd be thrilled to talk with you about furthering your crafting pursuits!