Showing posts with label Occasions-Thank You. Show all posts

Sunday, January 11, 2026

Extraordinary Flora and Layered Thoughts

I've used these two stamp sets very often this past year - Birthday Cards, Thank you cards; mostly Thank you cards.

I wanted to show you how I use the Washi Tape that comes with this bundle even though it is a separate purchase.


Click HERE for the written directions.


Click on any of the products below to purchase materials to make this project.

If you don't currently have a Stampin' Up! Demonstrator, I'd be thrilled to talk with you about furthering your crafting pursuits!


Monday, March 1, 2021

Hydrangea Hill Suite Panels

This card was inspired by the Hydrangea Suite.  I used this 3 panel card design for a fair entry a few years ago and thought it would be perfect with this absolute gorgeous paper!

The trick with this is really easy!  Cut the three panels as one piece to start with so you have continuity between the parts.  Then make the cuts to make the panes.  Looking closely you can see how the design continues between one panel and the other. 

I used Gorgeous Grape as the card base, Basic Black as a layer, a piece of striped DSP as the background, Highland Heather as the mats, and more of the DSP for the panel fronts.  The greeting is stamped in Gorgeous Grape ink.

On the inside, I used a strip of the striped DSP and layered a cut-off piece of the hydrangea paper for some interest.

If you'd like the exact cutting directions, let me know and I'll add them.


Click on any of the products below to purchase materials to make this project.

If you don't currently have a Stampin' Up! Demonstrator, I'd be thrilled to talk with you about furthering your crafting pursuits!

Product List


Tuesday, June 9, 2020

Split Card Design - New Technique

I saw this technique on Pinterest and watched a couple of You Tube videos.  It's a really easy technique!  Really Easy!
Click on any of the smaller pictures to see a larger view. 
 Here you can see the colors I used.  The first thing I did was stamp all the flowers and leaves.  I used the stamp set To a Wild Rose.  It's a 2 step stamp though it's actually 3 steps to stamp the entire flower.  I just used the outline and detail.  I didn't stamp the entire background piece.
 After each piece was die cut, I took a piece of Whisper White and cut it to 5 1/4 inches by 8 1/2 inches.  The video I watched said to draw a line down the center of this piece.  I scored it so I wouldn't have pencil on my background piece.
Overlapping this center line, using the Tombow Mono Liquid glue, adhere the flowers and leaves in a collage type look.   When you have a well-covered piece, use a guillotine cutter (a slide cutter won't work here) to slice the design in half.  Cut the "empty" edge so that the card is 4 inches wide.
 Here you can see the mounted and finished cards placed together they way I had them glued up.  Below it shows them split to make 2 cards.
 Ultimately I glued up two pieces of cardstock and because of the Split Card technique, I ended up with 4 cards which is what I needed.
 We'll be doing this at my next club meeting.  I'm actually using these as Thank you cards for my club members!  I always mean to make Thank You notes to go with their orders, and then I get busy and forget.  This time I'm ready!


Click on any of the products below to purchase materials to make this project.
Product List
To A Wild Rose Bundle
[151073]
$54.00
Around The Corner Photopolymer Stamp Set
[147464]
$16.00

If you don't currently have a Stampin' Up! Demonstrator, I'd be thrilled to talk with you about furthering your crafting pursuits!


Tuesday, January 29, 2019

A Mess of Thank You's

I received some wonderful gifts from my students this year so over my Christmas vacation I took a day to make a series of Thank You notes with some of my new "toys".  Stampin' Up! toys, as it were.

I'm so happy butterflies are back!  The stamp set offers lots of options for designs and colors. LOVE LOVE LOVE!

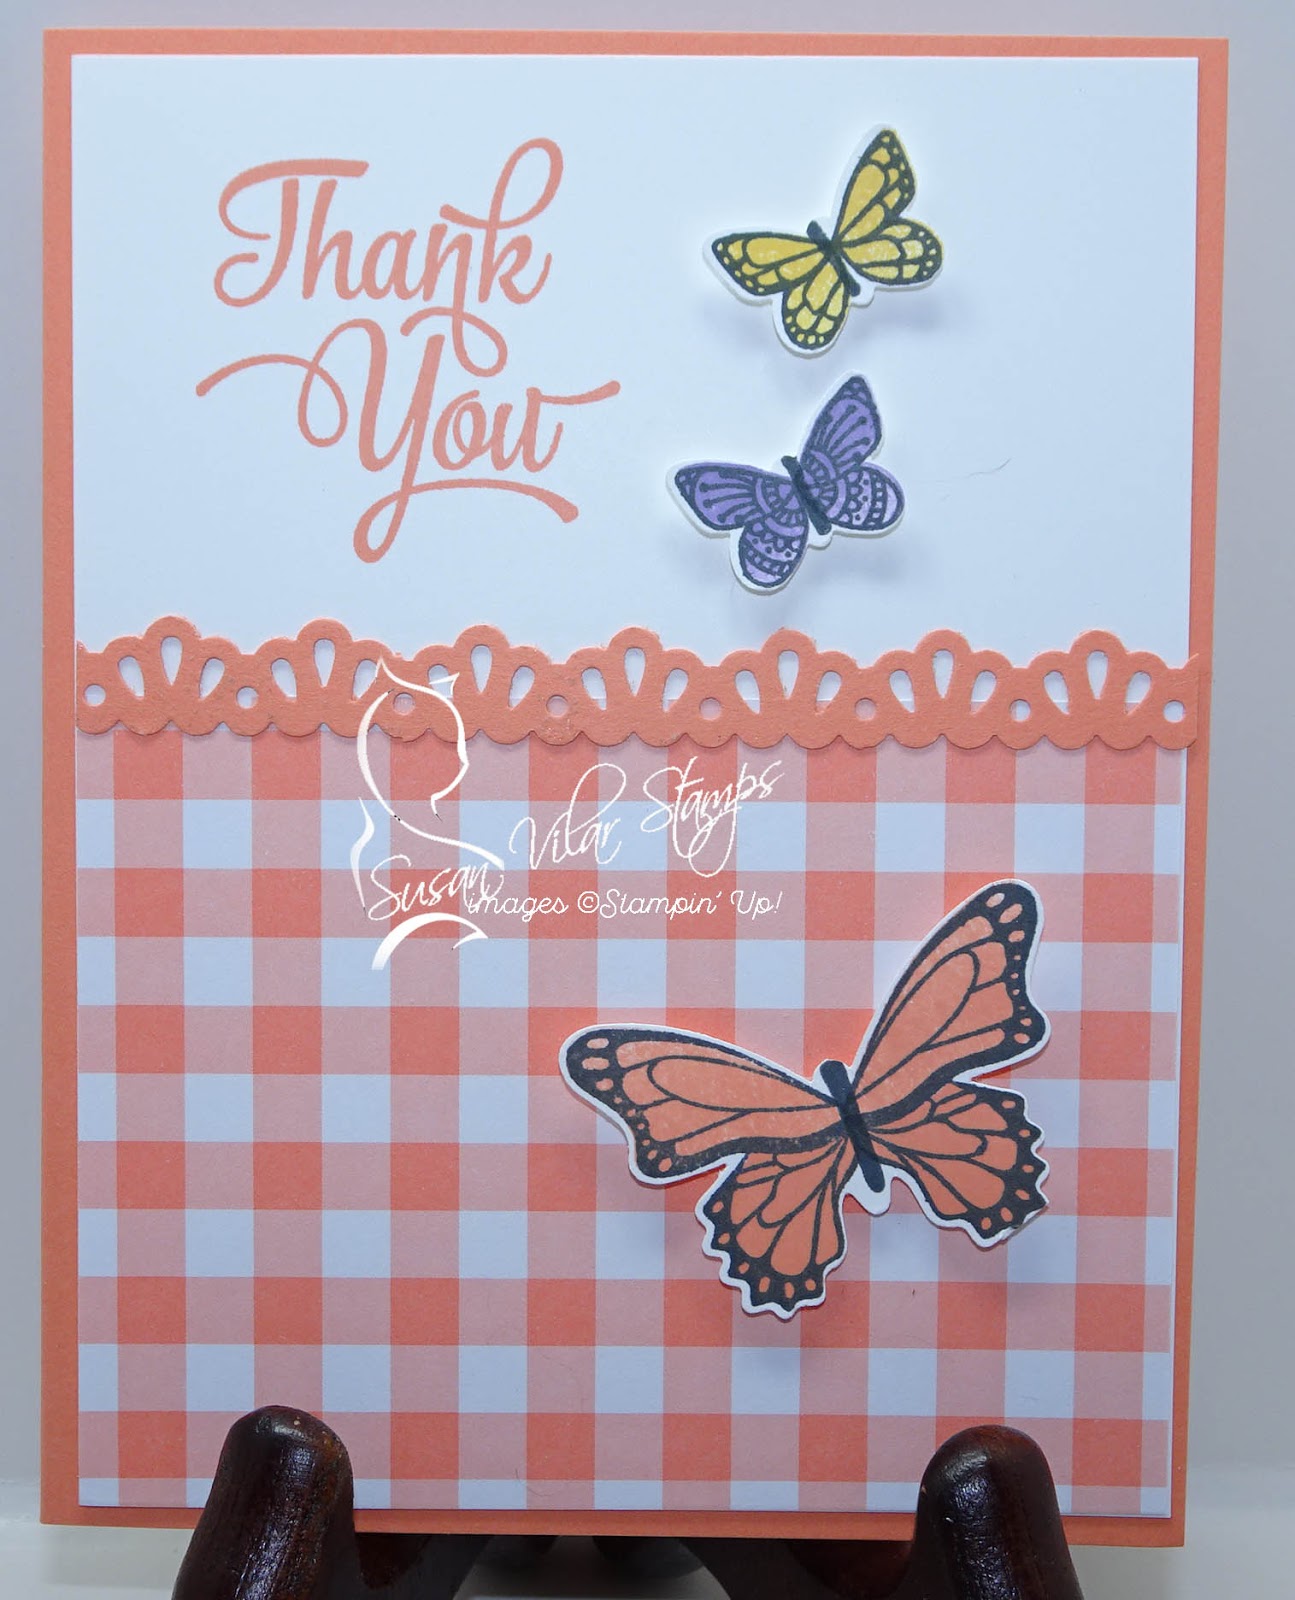
This first card showcases Grapefruit Grove in backing paper, punched border, and stamping as well as the gingham paper.

 The Gingham paper also comes in Lemon Lime Twist.  I can't personally stand that color, so it is always gifted to my crafting friends.  I'm showcasing 4 of the 5 colors in the Gingham Gala Suite.
 Here you see the card in Balmy Blue, and below is Highland Heather.
 Here's the card in Daffodil Delight.
I ended up making 30 of these, and split the leftovers between home and work so I'd always have a card ready to go when I need one!

They're so pretty, and quick to make.  One NOTE:  I added the sequins after I took the pictures.  They add some sparkle.


Click on any of the products below to purchase materials to make this project.

If you don't currently have a Stampin' Up! Demonstrator, I'd be thrilled to talk with you about furthering your crafting pursuits!


Product List
One Big Meaning Clear-Mount Stamp Set
[139420]
$19.00