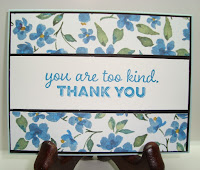
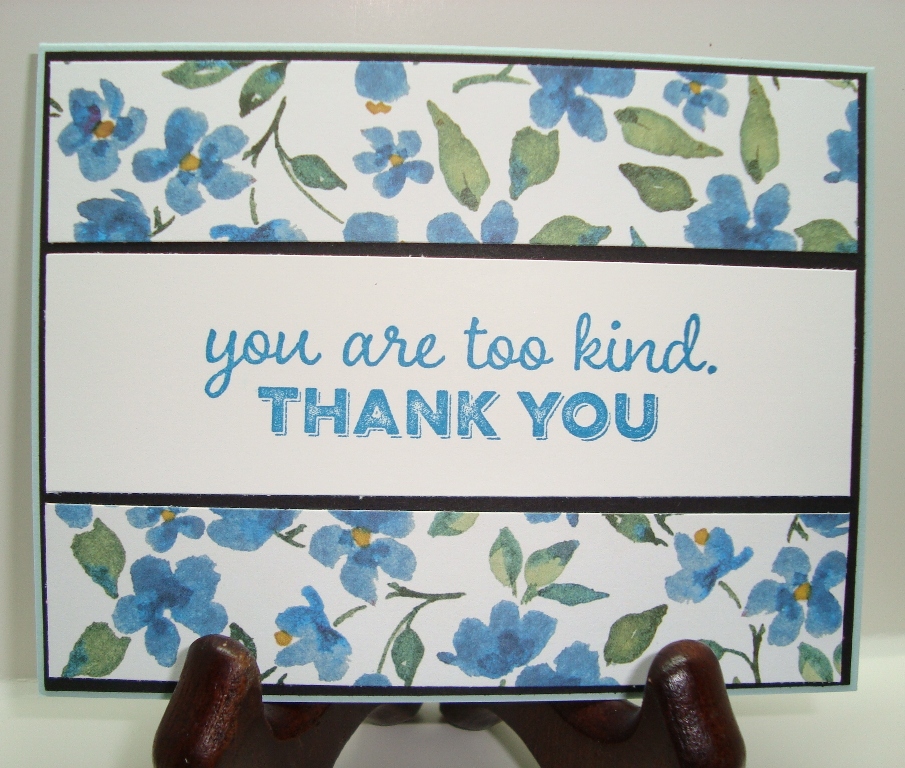
Click on any of the ten cards to see a larger view.
This is a set of ten cards I worked on throughout 2016 to have ready as Christmas presents for family and very close friends. I made 10 sets.... so yes, it was 100 cards! It was totally worth it! The cards use my very favorite Stampin' Up! paper to date: Painted Petals. It was in the Occasions catalog for 2015, I believe. The entire stack is incredibly versatile as you'll see below in the cards.
I await another paper stack that is again this versatile. Painted Petals... Beautiful!
I added details and embellishments to the cards, and gave the set packaged in a decorated wood stamp case with a coordinating pen.
 |
| An embellishment on this card includes a die from the Swirly Scribbles dies. |
 |
| This card is heavily embellished with a stamped butterfly, a bow, and a tag using two stamp sets. |
 |
| I LOVE this technique! So simple, yet absolutely stunning! This technique can be used with any of the DSP to make amazing cards your friends and family will OOOhh and AAAH over! |
 |
| Lots of layers on this card as well as a die cut that coordinates with the stamped words. |
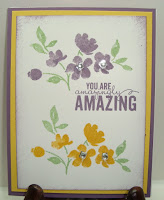 |
| One of my absolute favorites. So pretty in Wisteria and Daffodil. |
Click on any of the products below to purchase materials to make this project.
If you don't currently have a Stampin' Up! Demonstrator, I'd be thrilled to talk with you about furthering your crafting pursuits!
NOTE: PLEASE don't become overwhelmed by the amount of materials for this project. If you have Stampin' Up! materials, chances are you already have some of the paper, ink, and dies. The